
Rogue Blight Chapter Walkthrough
Waywood Forest to Blight Castle — node routing that keeps a run alive.
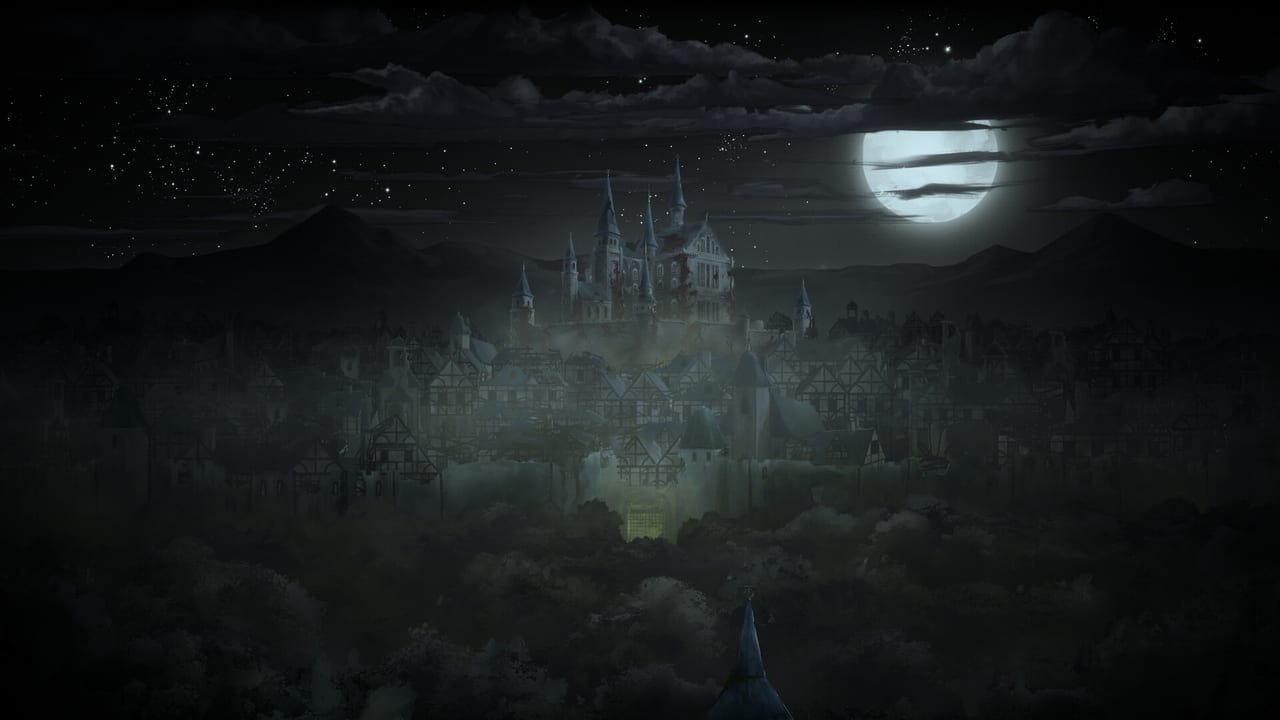
Rogue Blight’s story is three randomly generated maps, not a fixed hallway you can screenshot once. CodeRadGames lists Waywood Forest, Fireworn City, and Blight Castle. A competent first clear is about three to four hours; deaths, shops, and greed will stretch that. This walkthrough is a routing manual: which node to take, when to skip, and how the chapters differ. It is not a tile-by-tile script, because the tiles move.
If you have not finished the tutorial or your first sanctuary visit, start with getting started. Boss method lives on the bosses page. Node-by-node encounter text belongs on map encounters. After the credits, the game wants you on New Game+, not on a second 100% Metroidvania map.
The run loop
You leave a hub, pick a path on a Slay the Spire-style map, fight mostly one-on-one souls duels, and either bank progress or die. Gold and Funguy (official copy also says Fungi) feed permanent upgrades between runs. Player level from kills expands the loot pool. That is the Dead Cells-style carrot: even a failed forest still buys a better next attempt.
Official Steam copy for map progression: three generated maps with unique enemies and backgrounds; random encounters; chests of blessings; a shop for weapons, gear, and blessings; a statue that boosts health, mana, or stamina; a blacksmith that smelts spare gear; then a boss node that gates the chapter.
Demo footage is chapter 1 only. Later chapters in this article use official names, soundtrack titles, and project-scope notes. Where a detail is demo-only, it is labeled.
Node routing
Read the whole visible path, not just the next icon. You are trying to arrive at the boss with potions, a coherent two-hand loadout, and at least one blessing you understand.
Enemy nodes
Default farm. You get gold, Funguy, experience, and a chance at gear. Take extras while you are healthy and your build still has holes. Skip a second fight if you are already one-potion and the boss is two steps away. Regular enemies can still feel like mini-bosses; Konrad has said that is intentional.
Unknown nodes
The ? tile. Project scope aimed at roughly 30 choice events with unique rewards. Helrayzr’s NPC lives in these areas in the full game. Unknown is high variance: gold, Funguy, a blessing, a fight you did not want, or a story beat. Take it when you can afford to be wrong. Skip it when a single bad roll ends the run.
Chest nodes
Steam copy: chests full of blessings. Demo runs consistently treat chests as blessing shops, not weapon dumps. Early chest is often better than an early shop if your hands are already holding something you can swing. A Second Life-style blessing (demo) is a one-shot revive — save the path that has a chest if your current blessing row is empty.
Shop nodes
Weapons, gear, and blessings for gold. Take a shop when you have money and a hole: no shield, no status applicator, no stamina. Skip a shop that is a long detour if you are already built and the bonfire-to-boss line is clean. Permanent upgrades can add shop stock; that is a between-run spend, not a reason to visit every merchant on map one.
Statue nodes
Pray for health, mana, or stamina. First hour: stamina or health. Wand-heavy hands: mana. Demo upgrades can add extra points per statue. A statue is a quiet power spike; it does not replace a bonfire heal.
Bonfire nodes
Heal. With the right upgrade, bonfires refill potions. If a path offers bonfire then boss, that is usually the line. Do not skip a bonfire to grab one more unknown when you are already wounded.
Blacksmith nodes
Smelt spare gear to upgrade what you are wearing. Take the smith when your bag is full of fodder tunics. Skip it when you have nothing to feed and the boss is closer on the other branch. Demo upgrades add forge points per smelt. A smith is not a heal.
Boss nodes
The gate. Do not path into it starving, poisoned, and holding a weapon you equipped two tiles ago. If two routes both reach the boss, prefer bonfire or statue, then chest or shop, then extra enemies. Unknown last unless you are rich and curious.
Chapter 1 — Waywood Forest
The teaching map and the entire public demo. Soundtrack cue: The Waywood Forest. Project scope: six armor sets here. Your job is to learn the node language, survive regular duels, beat Gorilla, then beat Wendigo, the demo final.
Early pathing: take a statue or chest before you greed a chain of unknowns. A first shop is worth it if you can buy a second hand that matches a plan (left-hand shield, a status dagger, a wand for range). Blacksmith only after you have junk. Bonfire before Wendigo if the graph allows it.
Gorilla is a spacing exam in a small arena. Wendigo is the grab exam plus whatever adds and poison the fight throws in that run. Details stay on the bosses page so this walkthrough does not fake a move list. Helrayzr’s no-hit on Difficulty 3 is a north star for later loops, not a chapter 1 requirement.
When Wendigo dies, demo UI unlocked a new map difficulty and expanded loot. In the full game that is your cue that the forest is a loop, not a one-and-done zone. Bank Funguy. Buy potion economy and bonfire refill before you swagger into chapter 2 with a cosmetic nose.
Chapter 2 — Fireworn City
New backdrop, new enemy set, same map grammar. Soundtrack cue: The Fireworn City. Project scope: another six armor sets. The name and the art lean hotter and more urban than the woods; do not invent an enemy bestiary from the title. What changes for routing is pressure: you should already know which nodes heal you, so the city punishes people who still click every fight.
Carry a status plan. Steam says those ten statuses apply to bosses, and later chapters exist to make you use them. If your forest clear was raw sword panic, spend a shop or chest on a Burn, Bleed, or Shock applicator before you accept every elite-looking fight.
Named bosses such as Statue Dweller, Illdrake Knight, and Royal Rotter are official roster names. This walkthrough will not pin them to a chapter without a confirmed drop location. If your run puts one of them on the city boss node, fight the gimmick in front of you. Konrad designs bosses around a gimmick; learn two tells, then stop greed-hitting.
Pathing bias in the city: blacksmith if you have forest leftovers to smelt; shop if the new enemy set invalidated your forest kit; bonfire before the gate. Unknowns are for players who still have a potion to lose.
Chapter 3 — Blight Castle
The listed story climax. Soundtrack cues include The Blight Castle, The Lady of Blight, and The Final Blight. Project scope: three armor sets in the castle proper, plus cosmetic sets themed on bosses. Official plot: a warrior pushes to the castle to unseat the Blight Lady and break the curse. The Blight sits on the same official name list.
Routing here is conservative on purpose. Prefer heal and upgrade nodes over extra enemy chains. A castle unknown can still be worth it — that is where unusual NPCs and rewards hide — but a one-life mistake at this point wastes a three-chapter investment. If you find a Challenge Map tile, read the aside below before you tap it.
Konrad mentioned a giant dragon as a set-piece he added because dragons are fun. Treat that as an interview note. CodeRad’s project-scope page also described a short extra chapter, The Blight Heart, after enough playthroughs, with a true final boss. Confirm extra chapters in your own save; do not follow a fake room order from this wiki.
Challenge Maps, aside
Challenge Maps are one attempt. Fail the attempt and you do not retry that instance — you find another in the story. They are not your teacher. Clear a normal chapter path first. Do not spend your only potion line on a challenge you cannot repeat. Weekly or monthly leaderboard challenges (Steam has leaderboards; the project scope described rotating modifiers) are a different competitive layer. Do not confuse a one-life story find with an infinite New Game+ loop.
What “done” looks like
A first story clear is short by design. CodeRad’s pillars: runs should not last forever, each run should differ, you should always be close to an unlock, and there should always be a harder fight. After the castle, spend the banked gold and Funguy, then climb NG+ instead of hunting a 12-hour linear campaign that is not in the design.
A good route is the one that arrives at the boss with two potions and a blessing you can explain in a sentence. Tagging every node is how you donate the run to an unknown.
Frequently Asked Questions
Quick answers to the most common questions.
What is the chapter order in Rogue Blight?
Waywood Forest, then Fireworn City, then Blight Castle. Maps inside each chapter are randomly generated. The public demo is the forest through Wendigo.
When should I take a shop instead of a blacksmith?
Shop when you have gold and a hole in the loadout. Blacksmith when your bag is full of spare gear to smelt. If you have neither money nor fodder, take a chest, statue, or bonfire instead.
Are unknown nodes worth it?
Yes when you can afford a bad roll. Project scope aimed at about 30 ? events, and Helrayzr’s NPC lives in those areas. Skip unknowns when you are already one potion from death. Details: map encounters.
How long is the story?
About three to four hours for a competent clear, longer if you die or shop a lot. Replay time is New Game+, Challenge Maps, and leaderboards — not a hidden 20-hour linear map.
What happens if I fail a Challenge Map?
You get one attempt. Fail it and you must find another Challenge Map in the story. Do not treat the first one you see as a save-scum tutorial.